
For each student to create a large-scale model of their face with proper proportions, based on a smaller photo.
objectives
To practice measuring and multiplyingTo understand how measurements are used in artistic reproduction, and how math is important to creating art
materials
CalculatorsPencils
Rulers
Large sheets of paper
Markers and/or colored pencils
introduction
Scale is something used in all representational art. Representational art is artwork that strives to represent things from the real world (either accurately or inaccurately, on purpose).
Vincent Van Gogh, Starry Night (1889). Source: Wikipedia/Google Art Project
Non-representational art, or abstract art, is artwork in which you can't identify any object from real life (a tree, a dog, a person, the ocean, etc).

Wassily Kandinsky, Black & Violet (1923). Source: wassilykandinsky.net
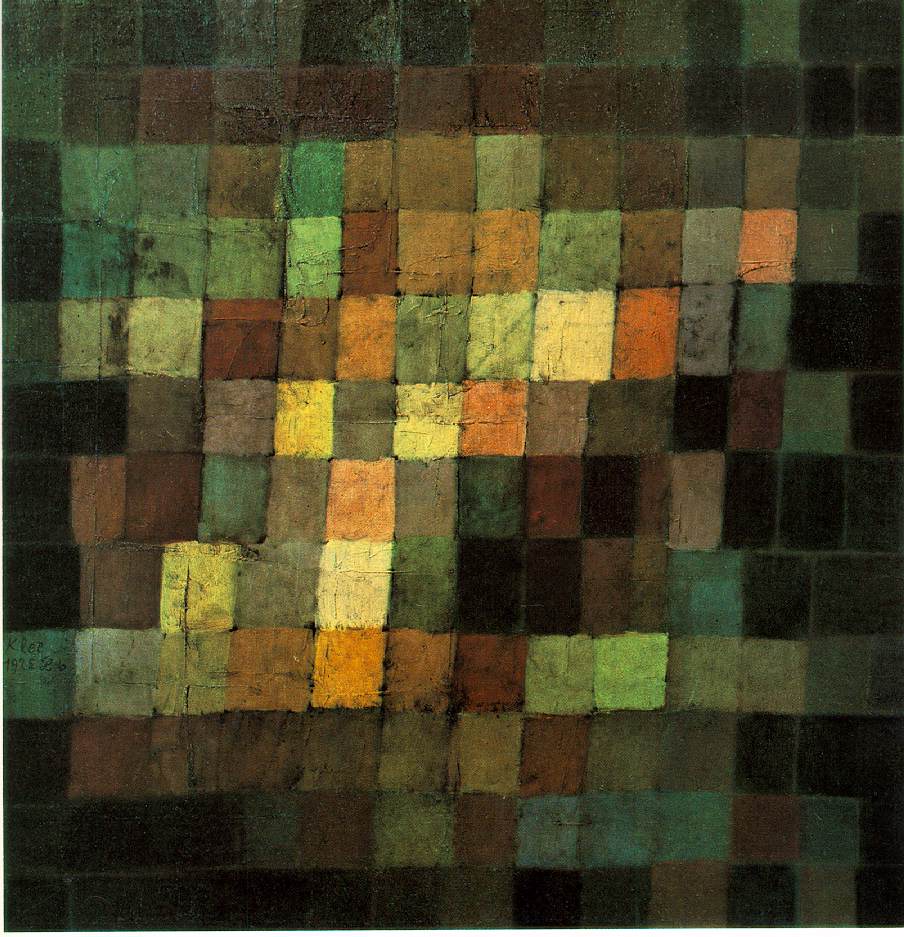
Paul Klee, Ancient Sound (1925). Source: Web Museum
One type of representational art is a painting style called photorealism. If you break the words down, it's clear that this type of painting looks like a photo because of how realistic it looks. Chuck Close is a photorealist painter whose work is similar to today's activity.

Chuck Close, Frank (1969). Source: Quazen

Artist with Self-Portraits. Source: Swindle Magazine
Later in his career, he began making the same big faces, but using a different technique. A seizure left him mostly paralyzed in 1988, and after a few months, he had only regained some movement in his arms. But he didn't give up painting large-scale portraits. He strapped a paintbrush onto his wrist and began painting by making one small grid square at a time.

Chuck Close, Lyle (2003). Source: Pace Prints
- Students will each be given a printout of their face. (Faces of people in magazines will be substituted if no photo of the student was taken)
- Students will be asked to make seven measurements on that picture. The first two lines have to be a cross-section of their face: One vertical line from their chin to the top of their forehead, and one horizontal line across their face, directly through their eyes. They can draw the other lines either across their face or along the edges of their face; it's up to them, as long as they make at least seven. The more lines they make, the more accurate their pictures will be in the end.
- Students will measure each line. They should write the measurements down alongside each line.
- Students will then start with the first two lines they made: the vertical and horizontal lines through their nose and eyes. They will multiply the length of each line by three. If we are multiplying by 3 to get our larger picture, what is the ratio of the photo to our end result?
 A corner of one of our examples
 - Students can start the larger image by drawing these two lines on a new, big sheet of paper. The lines they make should all be three times larger than the original image. After making the first two, they can go ahead and multiply/copy the rest of the lines.
- After they've successfully scaled up their faces, they can start to add details like eyes, a nose, and a mouth.
 Our example-in-progress
 - After students have drawn all the details of the face, they may add color to their image.


follow-up/review
What is scale?
What is ratio? What was the ratio we were working with in this lesson? What do you think the ratio would be for one of the huge portraits that Chuck Close made?
How do artists regularly use measuring and multiplying skills in representational art?